Cleaning between your teeth reaches areas a toothbrush cannot fully clean. The tight contacts where teeth touch each other trap food and plaque, and these hidden spots are where cavities and gum problems often begin quietly. Floss is one option for cleaning these spaces, while interdental brushes or water flossers may suit some mouths better. The right choice depends on the size of the gaps between your teeth and any dental work you have.
Starting can feel awkward. The string slips, your fingers cramp, and reaching the back teeth seems impossible. That is normal for the first week. Most people find that the routine becomes smooth and quick — often under two minutes — once their hands learn the motion. A short demonstration from a dental professional can prevent a lot of early frustration, especially if you have crowded teeth, braces, or a bridge. What follows is a beginner-friendly path from your first attempt to a steady daily habit.

Choose the right tool for the spaces in your mouth
Not every interdental tool suits every mouth. Picking one that matches your teeth makes the learning curve far gentler and the habit far more likely to survive.
Match the tool to the gap
Standard string floss works well for teeth that touch tightly with little visible space between them. If you find string floss shreds or gets stuck, try a waxed variety or a smooth tape-style floss, which glides more easily through tight contacts. Floss picks — small plastic handles with a short span of floss — are easier to hold and can be a good training tool for beginners, though they are less flexible than wrapping floss around your fingers.
If the gaps between your teeth are wider, or you have gum recession that has opened up spaces near the gumline, interdental brushes are often the better choice. These are tiny bristled brushes that slide between the teeth and scrub the sides in a way string floss cannot. They come in several widths — go for the largest size that fits comfortably without forcing. Your dentist or hygienist can measure your spaces and tell you which sizes to buy, which saves money and trial and error.
Water flossers, which aim a pulsating stream of water between the teeth, help some people who struggle with string of any kind, including those with braces or fixed bridges. They are an add-on to brushing, not a replacement. They do help calm gum inflammation, though they may not scrub off sticky plaque as thoroughly as a tool that physically touches the tooth. Whatever you choose, the best tool is the one you will actually use every day. If cost is a concern, plain string floss is inexpensive and effective — you do not need the most expensive product to clean well. Replace floss picks after a single use rather than reusing them across days, since a used pick carries bacteria back into the mouth. Interdental brushes can be rinsed and reused until their bristles lose shape, which is usually about a week of daily use.
Ask for a quick demonstration
A five-minute demonstration at your next dental visit is worth more than a month of guessing. The professional can show you the exact angle for your mouth, which teeth need which tool, and how to handle tricky spots like the far side of the last molar or the area under a bridge. Bring the product you bought so the advice matches what you will use at home.
This matters most if you have dental work. Implants, crowns, bridges, and orthodontic wires each change how you should clean around them, and the wrong technique can damage the work or miss the areas that need the most attention. A quick personal walkthrough takes away the guesswork and gives you confidence from day one.
Learn the gentle motion step by step
Technique matters more than speed. Slow, controlled movements clean better and protect your gums from the cuts and soreness that make beginners quit.
Curve, slide and lift
Take about forty-five centimetres of floss — roughly the length from your fingertips to your elbow — and wind most of it around the middle finger of each hand, leaving a few centimetres of working floss between them. This gives you a fresh, clean section to unwind as you move from tooth to tooth. Hold the floss taut between your thumbs and index fingers.
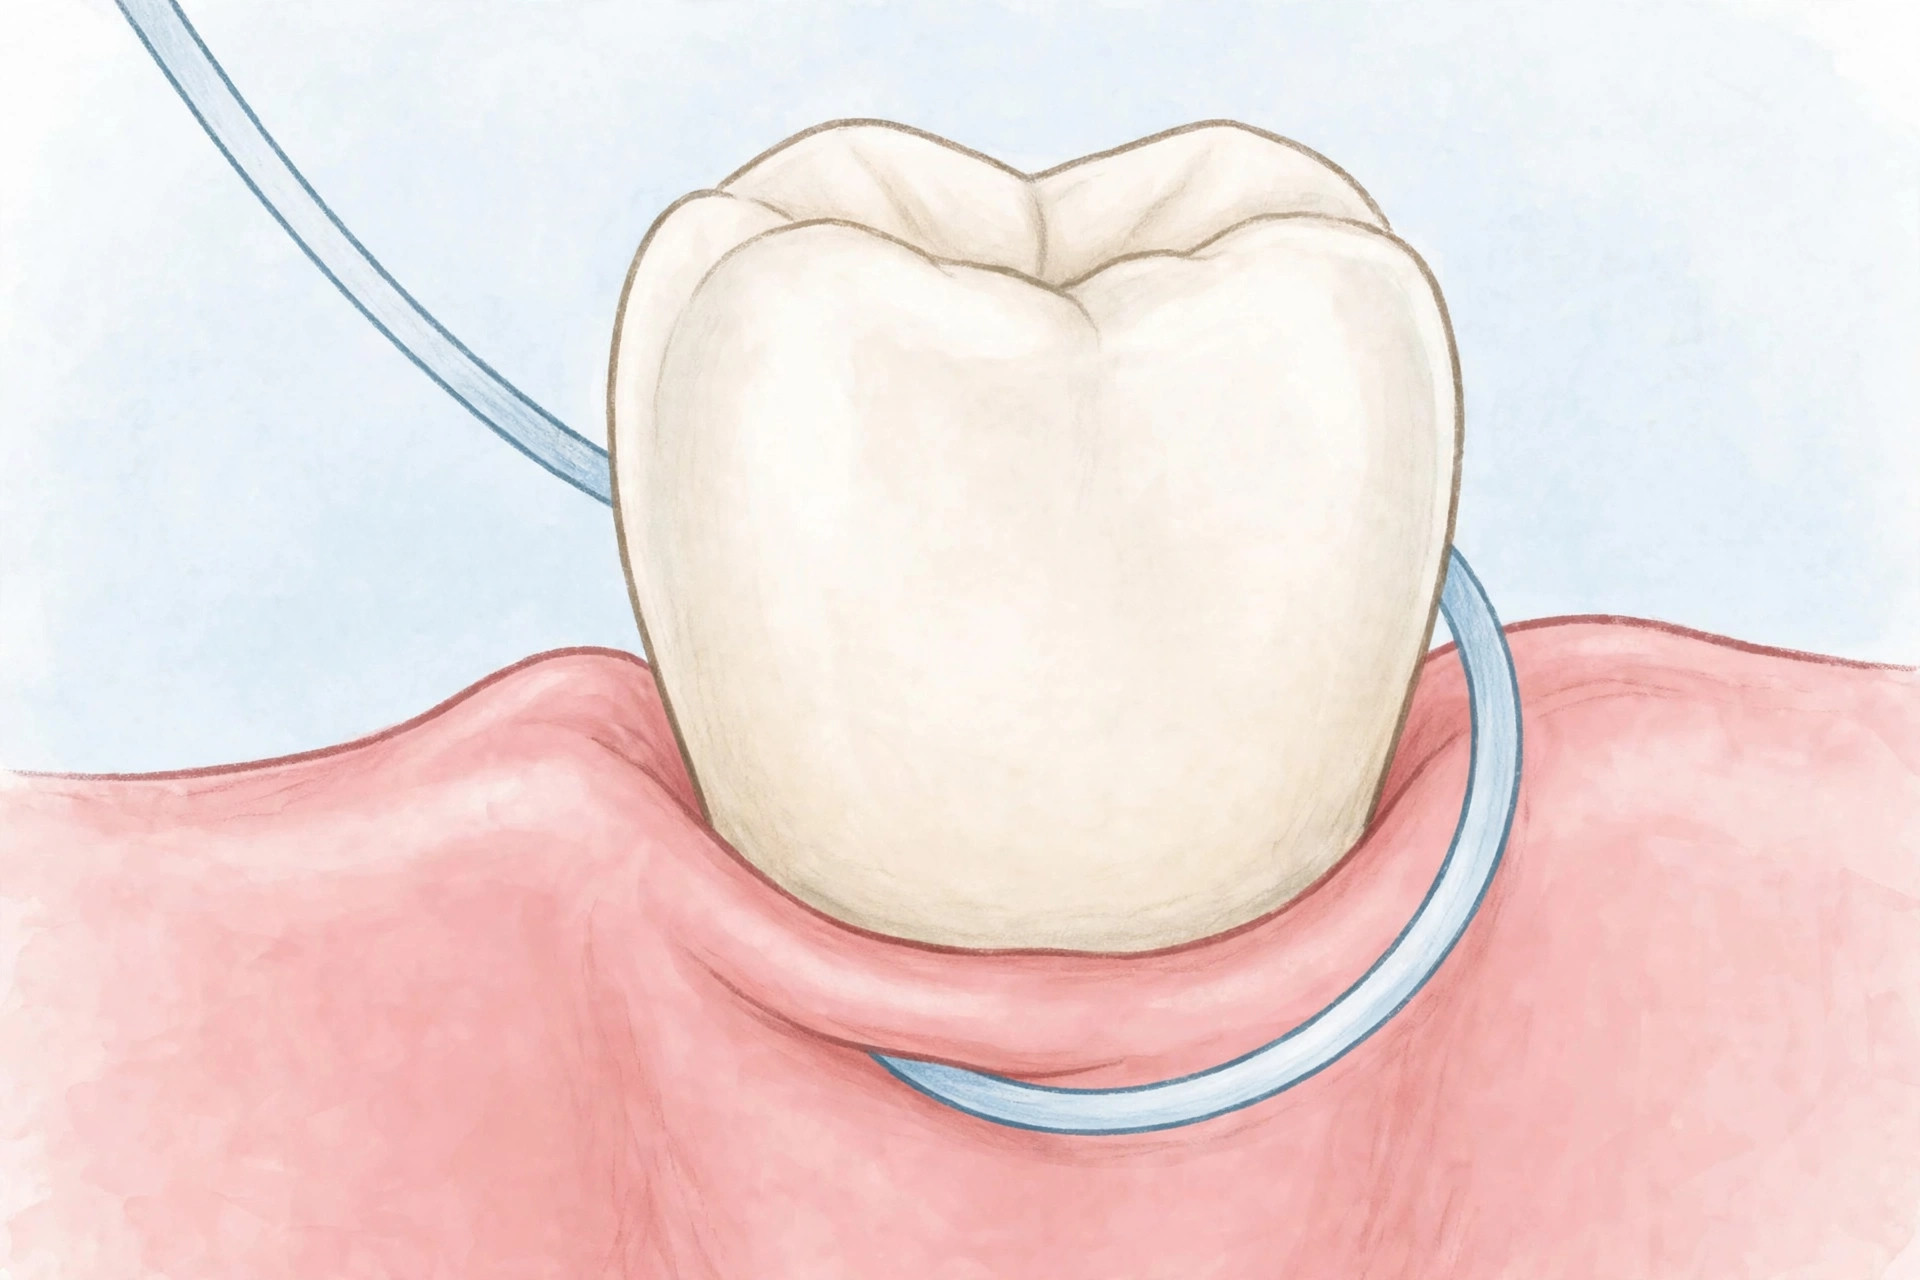
Ease the floss gently between two teeth using a slow sawing motion. Never snap it down hard onto the gum — that is the main cause of beginner soreness and bleeding. Once through the contact, curve the floss into a C-shape against one tooth and slide it gently just under the gumline, then lift the plaque upward with a few soft strokes. Repeat the C-shape against the neighbouring tooth before moving on, so both sides of every gap get cleaned. Unwind a fresh section of floss for each new space.
The motion should feel like polishing, not sawing wood. If your gums are healthy, gentle flossing should not cause pain. Mild bleeding during the first week or two is common as inflamed gums respond to new cleaning; it usually settles as the gums get healthier. But if bleeding continues after two weeks of careful daily flossing, get it checked by your dentist — do not just give up on the habit.
Work the back teeth too
The molars at the back do the heaviest chewing and have grooved, complex surfaces, yet they are the teeth beginners skip most. Make them a deliberate part of the route every time. Open a little wider, use your index fingers to guide the floss, and take an extra moment on each back contact. The far side of the very last tooth in each arch still needs cleaning even though no tooth sits behind it — curve the floss around it and slide as usual.
If you truly cannot reach comfortably with finger-wrapped floss, switch to floss picks or a handled floss holder for the back teeth. People with braces face an extra challenge, since the wire blocks straight access between teeth. Threader floss with a stiff end, or small interdental brushes pushed gently under the wire, solves this — your orthodontist can demonstrate the exact motion. There is no prize for struggling with the hardest method; the goal is clean interdental spaces by whatever safe tool gets you there. Consistency with an easier tool beats occasional heroic efforts with a harder one.
Make it a habit that survives busy days
Knowing how to floss and actually flossing every day are different skills. The habit needs a design that survives tiredness, travel, and chaotic schedules.
Anchor it to an existing routine
Link flossing to something you already do without thinking, such as brushing your teeth at night. Keep the floss visible right next to your toothbrush — out of sight genuinely means out of mind for new habits. Do the interdental cleaning first, then brush; many people find this order works well because the brush afterwards sweeps away the loosened plaque and spreads fluoride into the freshly cleaned gaps.
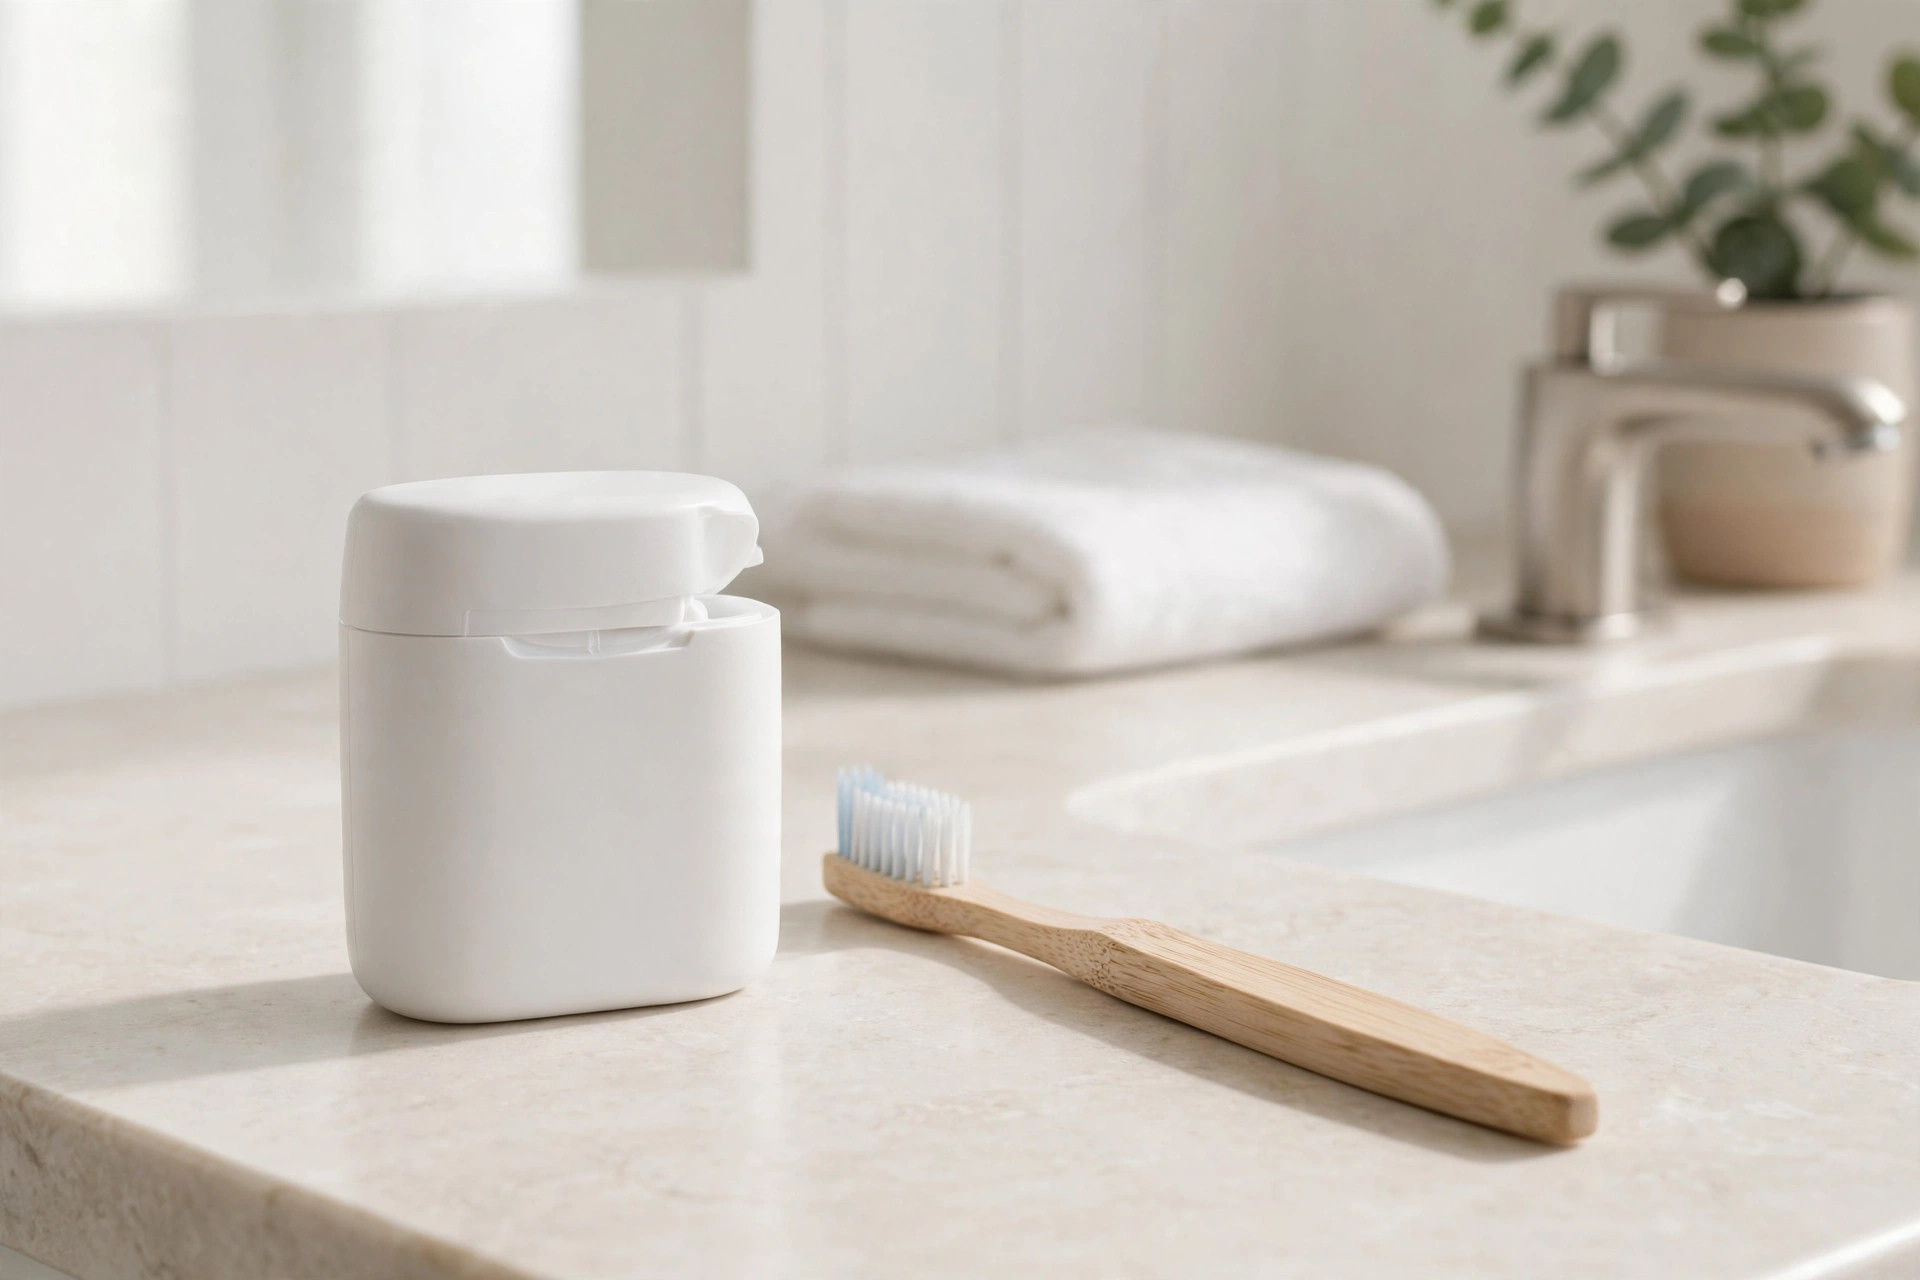
On exhausting days, give yourself permission to do a quick version rather than skipping. Cleaning just the front teeth or just the upper arch still beats zero, and it keeps the daily streak alive psychologically. Travel with a small pack of floss picks so unfamiliar bathrooms do not break the chain. If you miss a day, simply resume the next day without guilt — one missed day does not undo weeks of progress, but the all-or-nothing mindset that follows a missed day ruins more habits than the missed day itself.
Track the habit simply for the first month — a tick on a calendar or a note on your phone. Watching an unbroken row of ticks grow is surprisingly motivating, and after about a month most people report the routine feels automatic. If your gums bleed at first, do not mistake it for damage; with gentle daily cleaning, early inflammation usually settles within two weeks. Bleeding that persists beyond that, or gums that look swollen and puffy, is a prompt to see your dentist rather than a reason to stop. Pair the new habit with realistic expectations: flossing supports gum health and complements brushing, but it does not replace brushing, fluoride, or dental check-ups. Together, these pieces give your teeth and gums their best everyday protection.

If traditional string floss feels awkward, you have options. Floss picks, interdental brushes, and water flossers all clean between teeth effectively, and the best tool is the one you will actually use daily. Interdental brushes are especially handy for wider gaps, while a water flosser can be gentler on sensitive gums. Ask your dentist which suits your teeth at your next visit — they can quickly assess your spacing and recommend the right size or type.
Sources and further reading
The sources listed here back up the general health information in this guide. The examples and daily routines are practical illustrations — not personal medical advice.
This article is for general education only. It was created with AI assistance and has not been clinically reviewed. For guidance about your own situation, please speak with a qualified health professional.